Table of Content
You can coat the inside of the larger box with mineral spirits as an alternative to cooking spray. Pour the spirits into the bottom of the box and spread it around on the inside of the box with a rag. The formula for the concrete mix is one part cement, two parts sand and three parts gravel or crushed stone. Allow the concrete to set for at least 24 hours, then remove the smaller container to reveal your concrete pot. You will also need a smaller mold that you will insert inside of the outer mold.

But you can also use it to fill gaps in the wall also. You can easily paint your wall after using the white cement. Place your DIY cement planter wherever it makes sense for you, whether that’s outside on your patio or in your living room. Creating large planters with concrete can be difficult. If you're a beginner, try making a small planter to start then go from there. Decorate the outside of the planter to personalize it.
Step 3: Fill the DIY Concrete Plant Pot Molds
Mix the concrete to a thick milkshake consistency and then pour the concrete into the mold. The easiest planter mold to work with is one that has smooth sides and is either straight up and down or tapers outward at the opening. If you have obvious cracking while it’s curing then it is curing too quickly for conditions and needs to be wrapped in plastic and kept moist. Concrete planters can easily be cleaned by either just using a dish detergent and warm water solution.

Then, take the smaller plastic container and oil the outside of it. But also keep in mind that you must also make sure to mix the cement or concrete so that there are no lumps. You will also need to vibrate the wet mix after you have cast your planter.
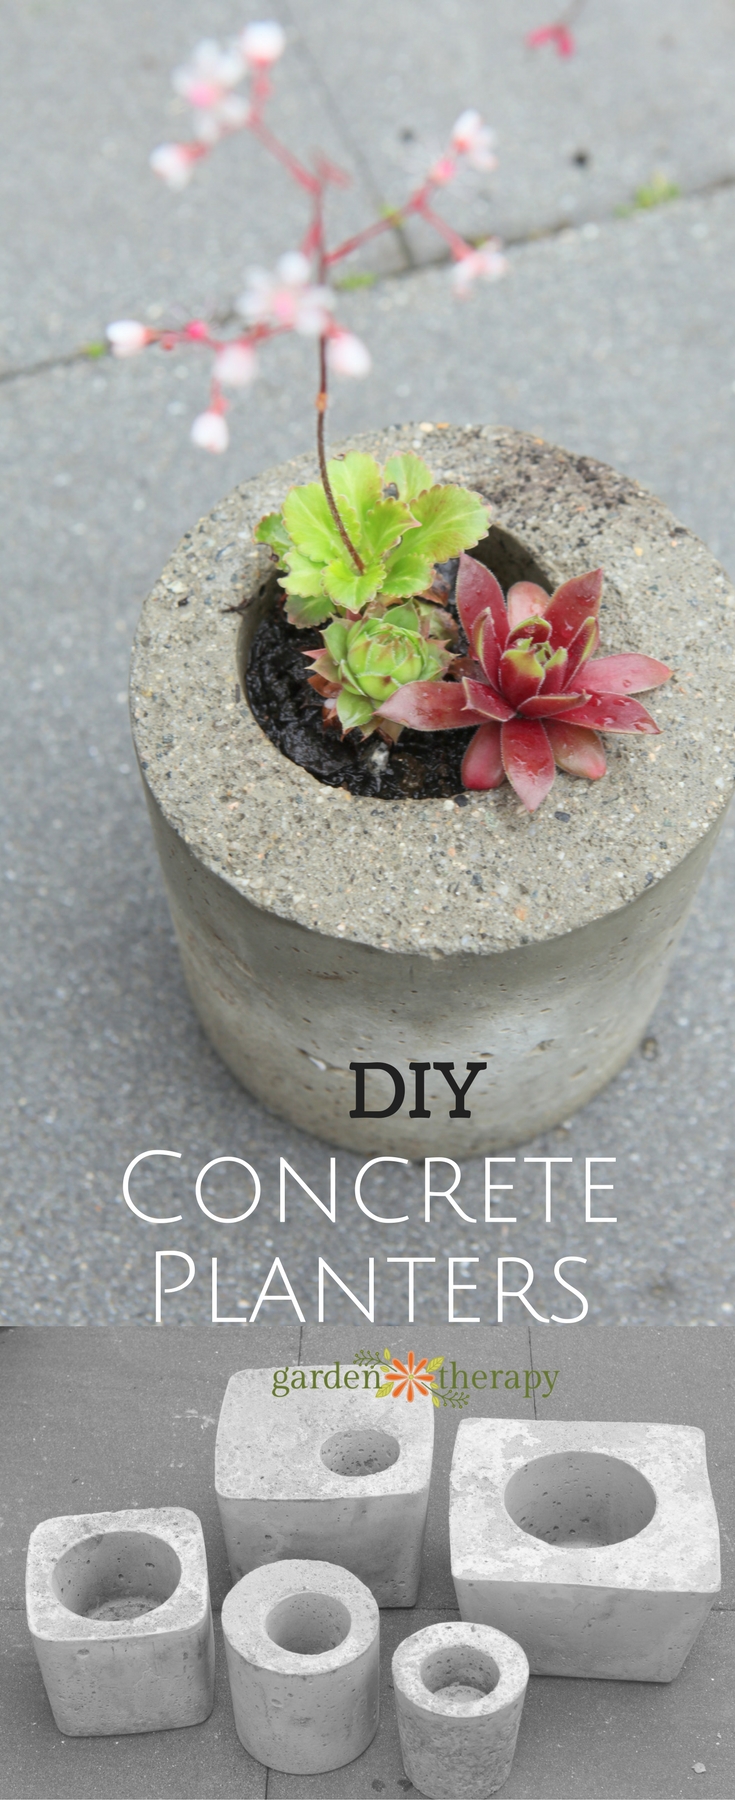
Make a Variety of Shapes with Concrete
I was dreading purchasing the large blue pots required for my landscaping plan, but this will make it much easier on the pocketbook! I actually have shot a video for the self-watering build, including the same pot. However, editing takes a lot of time and other responsibilities have kept me from getting it finished.
This will be the actual cavity of the concrete planter. Plants like succulents thrive in this type of soil, but there are many types of plants that require acidic soil. The innate porousness of concrete helps keep plant soil from staying too wet and being over watered. For larger planters, you will need to increase the cement to sand ratio. Concrete Planters And Plant Health FAQ – Is concrete toxic to plants?
Step 4: Pour Cement into Container
A fine finish concrete such as Rapid Set Non-shrinking. Fill around the interior shape and use a wooden stick to push out air bubbles. Of course, you can always color cement and concrete by painting it after it’s cured. You can use specially made concrete pigments which come in a powder form. You can also color concrete by adding either acrylic or latex paint to the mix.
If you’re using plastic containers instead of paper cartons to make your DIY cement planter, you need to prep them beforehand. This will prevent the cement from sticking to your container after the cement dries. Making cement planters starts with a form of some sort. This depends largely on the size and shape you want. You will need two forms, one smaller than the other. Once the cement mixture has reached the right consistency, pour the cement into the pre-oiled plastic containers.
Choose a different wall thickness, but it should not be less than 5 cm. If the thickness is less, then the pot will be fragile. An excellent choice for shape is buckets or old pots, stainless steel containers, glass jars.
Save up to 50% on planters and 40% on Artificial Christmas Trees. There’s something so fun about the start of a new school year. Smooth rough and sharp edges with a stone or file.
Typically concrete planters that are purchased from a store will already have gone through that process and are also very likely to be sealed. There are many creative garden ideas out in the world. One of the most family friendly and fun is making cement planters. The materials needed are easy to get and the cost is minimal, but the results are as varied as your imagination. Whether you want traditional, round concrete flower pots or snazzy rectangular planters, the sky is the limit with a little cement and know how.

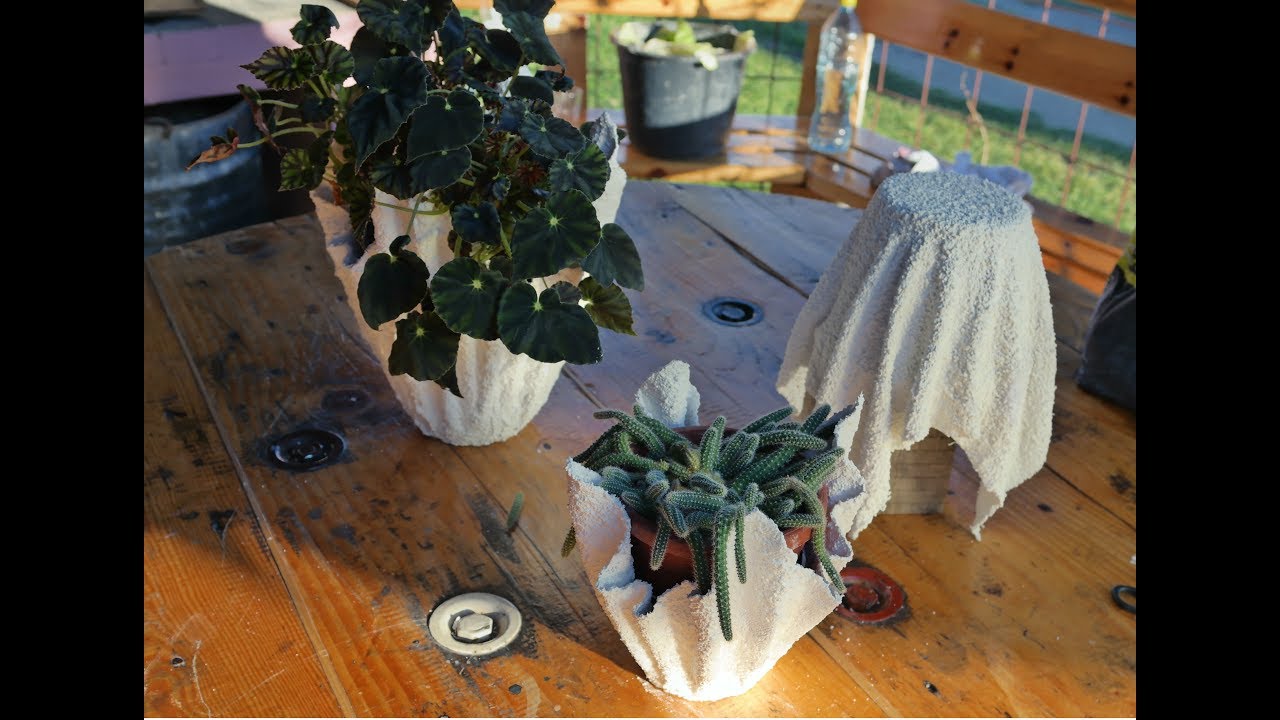
Start your own by following these step-by-step instructions, excerpted from Concrete Garden Projects by Malin Nilsson and Camilla Arvidsson. With some mixes, you might do better waiting more than 24 hours to demold, but the best thing to do is just use Cement All. I see your email address, so if you are in the US, then it’s available at every Lowes, Home Depot or Ace Hardware. It comes conveniently in a 10lb box, or a bigger bag, but very manageable to carry.
These can be shells, pieces of colored glass, broken tiles, ribbons or lace. You can also paint your planter with bright colors. To seal concrete planters, simply use a foam brush or rag and brush or rub on a concrete sealer after the concrete has completely dried. If the planter is very large, like about a foot or more, then either create additional drainage holes. Or make larger drainage holes using a jumbo sized drinking straw. Most any concrete or cement mix can be used for making planters.


No comments:
Post a Comment